In order to weave, the loom must be warped. You have to be warped to weave.
Step 1: unchain the warp and place the end toward the cross through the rod attached to the back beam. My Baby Wolf has two. The steel rod is 3/8" and was purchased locally. If using two rods, secure the two rods temporarily on the ends with large, strong rubber bands such as the ones found on vegetables. Place lease sticks in place. I secure mine with loose-leaf ring binders and tie on both sides of both lease sticks to the loom so that they will stay in place while warping. There are various ways to do this as well as various equipment. I find that this works for me and "free" as it's cut off legs from panty hose.

Step 2: this is the same as #1 but shown from the back of the loom.

Step 3: remove the chokes from the loop on the back and at the four places on the cross.

Step 4: tie on raddle and spread the warp by ends per inch in one inch sections. Note the black peg that is the center marker on this raddle. Mathematically divide the warp in half and start placing ends in the raddle either from left or right in the correct place so that the warp will be centered on the back beam. Please be sure your warp is going over the back beam!
Step 5: this picture shows the warp completely spread in the raddle.

Step 6: place on the raddle top. If you are using a homemade raddle, rubber bands will work fine.

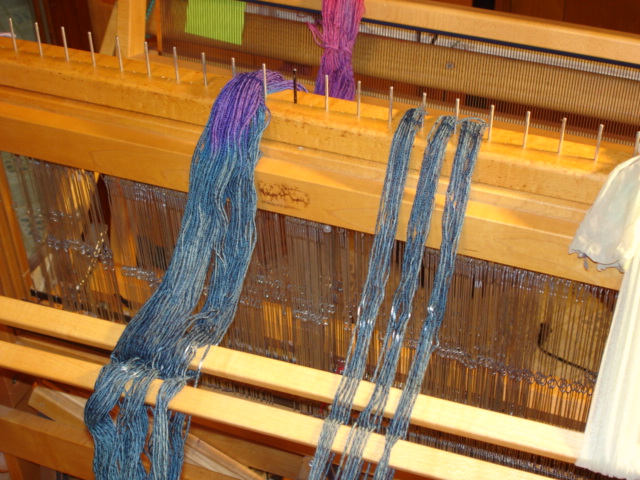
Step 7: the picture here shows that the two back rods are not tied together yet except for the ends that are held with rubber bands.

Step 8: tie the two rods together starting at width of the scarf and tie three or four times to the other end of the warp leaving the remaining of the rod free. I do leave the rubber bands in place but it's not necessary. Call it my security blanket.

Step 9: shake, raddle and roll. Shake out the warp from the front and create tension on the warp. This loom is easier than most to hold tension with my hand and advance the warp, otherwise known as rolling it on. Note that it is going through the raddle to maintain the width on the back beam. This picture shows one advancement of the warp.

Step 10: place separators such as a continuous roll of paper, bamboo blinds or corrugated cardboard. Some use uncoated wall paper.

Step 11: continue to advance, shaking, tensioning and cutting tie-bands off the warp as you go.

Step 12: the warp in this picture is now beamed and the top of the raddle is removed. If you're using rubber bands, remove them.


No comments:
Post a Comment